- Home
- Manuals
- Honeywell
- Install Guide for Smart Round Thermostat Professional (English, French, Spanish)
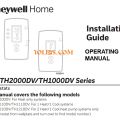
Install Guide for Smart Round Thermostat Professional (English, French, Spanish)
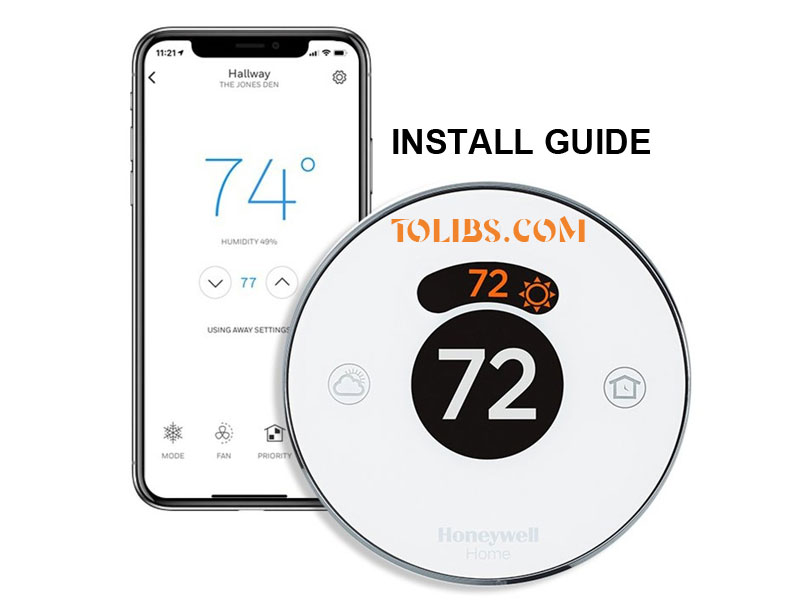
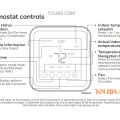
Honeywell Round™ Smart Thermostat TH8732WFH5004 Professional Install Guide
System Types: Compatible with 24-volt systems such as forced air, hydronic, heat pump (including dual fuel), oil, gas and electric.
Does not work with electric baseboard heat (120/240V).
Installation:
Set Jumper Switches
R Jumper Switch:
For single transformer systems, move switch up.
For dual transformer systems, move switch down.
Jumper Switch for humidifier, dehumidifier, or ventilation:
For single wire products, set the switch to 1 Wire.
For two wire products, set the switch to 2 Wire.
Connect wires and mount wallplate
Connect wires and mount the wall plate using screws and anchors provided.
Note: The illustration to the right shows the most common wiring.
REQUIRED: A C-Wire (common wire) is needed for 24 VAC power.
Wiring: Terminal Designations
- L Heat pump system monitor
- C Common wire from secondary side of cooling transformer, if 2 transformers
- W2 (AUX) 2nd stage heat relay (heat pump auxiliary, emergency heat)
- W (O/B) 1st stage heat relay (changeover valve for heat pumps)
- U1 Terminal for indoor air quality products (humidifier, dehumidifier, ventilator)
- U2 Terminal for indoor air quality products (humidifier, dehumidifier, ventilator)
| Terminal | Voltage (50/60 Hz) | Max. Current Rating |
| W - O/B (Heating) | 18 to 30 VAC | 1.00 A |
| W2 - Aux/E (Heating) | 18 to 30 VAC | 0.60 A |
| Y (Cooling) | 18 to 30 VAC | 1.00 A |
| Y2 (Cooling) | 18 to 30 VAC | 0.60 A |
| K | 18 to 30 VAC | 1.00 A |
| G (Fan) | 18 to 30 VAC | 0.50 A |
| L (Output) | 18 to 30 VAC | 1.00 A |
| U1, U2 | 18 to 30 VAC | 0.40 A |
Firmly snap the thermostat into place
The thermostat will glow and display the screen for up to three minutes while it starts up.
Setup options
- From the Contractor Menu, highlight Set Up and press OK.
- Press UP or DOWN to highlight the setting and press OK. Continue until all settings have been configured.
- When all settings are configured, you will be prompted to save changes. Highlight Yes and press OK to save and exit. To exit setup early by pressing UP or DOWN highlight EXIT and press OK.
The operation of this equipment is subject to the following two conditions: (1) this equipment or device may not cause harmful interference, and (2) this equipment or device must accept any interference, including interference that may cause undesired operation.